|
When I started jewellery making I simply copied my teacher, as most young learning jewellers would do. My
journeyman, Shane, was left handed, but used his hanging motor and soldering with his right hand. That was
because his journey man was right handed.
I am left handed as well, so because of copying my journeyman, I solder, file and use pliers mostly in my
right hand. Therefore my soldering pad is on my right side.
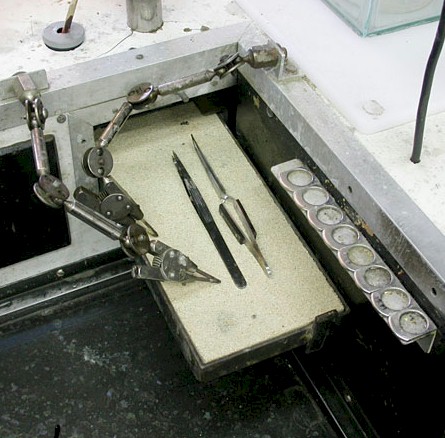
It is a steel framed tray that I can slide out when I need it.The little circles above my soldering tray are
my different solders. Starting from 18kt hard and medium, 14kt hard and medium, white gold platinum and silver
all in their respective circles.
If I need to solder large pieces I do that at my melting bench.
I use two GRS tweezers to set up components before soldering.
I am of the opinion that any goldsmith that does not have a GRS
system is nowhere, really.
I don't use a soldering pick anymore. I use tweezers to pick up the solder and then use one side of the
tweezer as the pick. Much easier than a single pick.
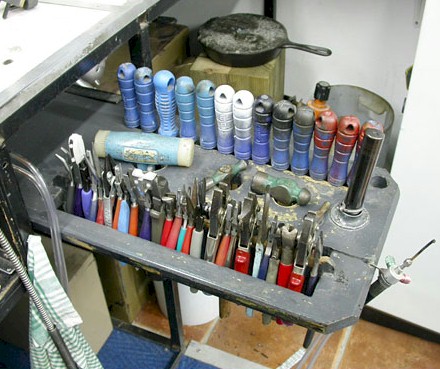
This is my plier, file, hammer, triblet, torch tray that also slides out when I need it.
My file handles are colour coded to note the shape of the file, for example, red are slim-line half round/flat
files, black are normal broad half-round/flat files, white are crossing files and blue are checkering files.
The other two are 12 inch bastard and medium flats.
I cut line, circle and cross lines into each file handle. So extreme right is 000 Swiss cut, circle is 0 Swiss
cut and cross is no.2 Swiss cut. All the different file shapes have the same handle designation. When they get
mixed up it makes file selection quick and certain.
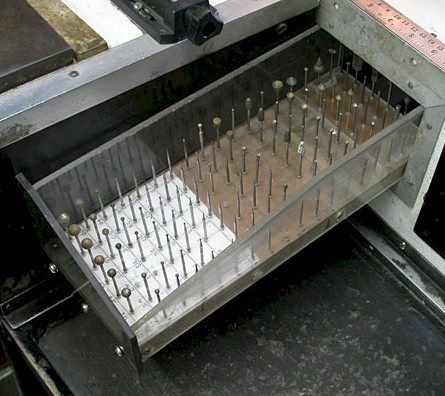
This is my burr tray. I use ball frazers for setting pav�. So in the white area,which is a piece of paper with
the sizes written on them under a piece of clear plastic that holds the burrs, my ball frazers go down in size
from 11mm to .4mm. Towards the back of the tray, there are all the other shapes, like barrel, tapered, tungsten ,
cone, planishing etc.
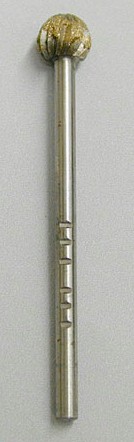
I cut grooves with a parting wheel in all my ball frazers. So this one is 6mm.
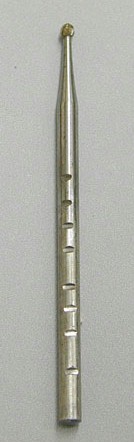
And this one is 1.7mm. One groove at the bottom, and 3 and then four grooves afterwards.
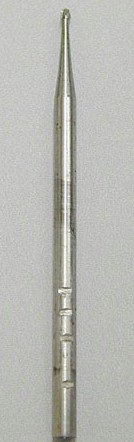
This one is 1.3mm. So with a number groove cut into the burr and a designated hole for it to go into the
perspex holder, the burr is always easy to find.
This is a fundamental principle of speed working...namely,
It takes much less time to put a tool in its rightful place than it takes to search for it.
So you always put it back after you finished with it. Even if that is ten times while you
working on a project. Per hour. Per minute. Just do it, it's faster.
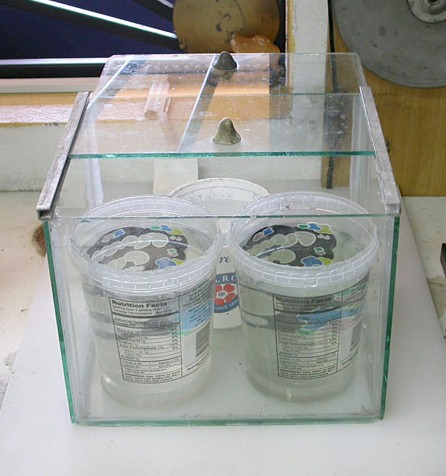
This is my acid box.
It is made out of glass and silicone glue, much like a fish aquarium with a sliding top.
I dip my piece into the acid straight after soldering, while it is still red hot. This is very fast.
The lid prevents acid splashing around.
At the back, in the small white cup is sulphuric acid. I use battery acid, which is the right strength for me.
The right hand front is Sparex. Or citric acid sometimes. Both work well respectively.
The left is water with bi-carbonate of soda. ( Baking Soda)
This neutralises both acids well and prevents tools rusting, and holes in clothes.
Not having holes in clothes is important, because that prevents the degenerate hippy look that follows many
goldsmiths, myself included.......
All the above is after years of getting my time and motion to the minimum.
This is most important because, as a craftsman, production of new work brings in the most money.
That is.... If you don't have the finished piece, you can't sell it.
Click the link if you wish to subscribe to our
Newsletter on our latest Jewelry Tutorials and Tool Tips . We send them out about 4 times a year.
Here I've shown you only sections of my jewelry workbench stations. More details
on the overview and functioning are discussed on
Jewelry Workshop Bench
|